
この記事には広告が含まれています。
こんにちは、イラレ常人です。
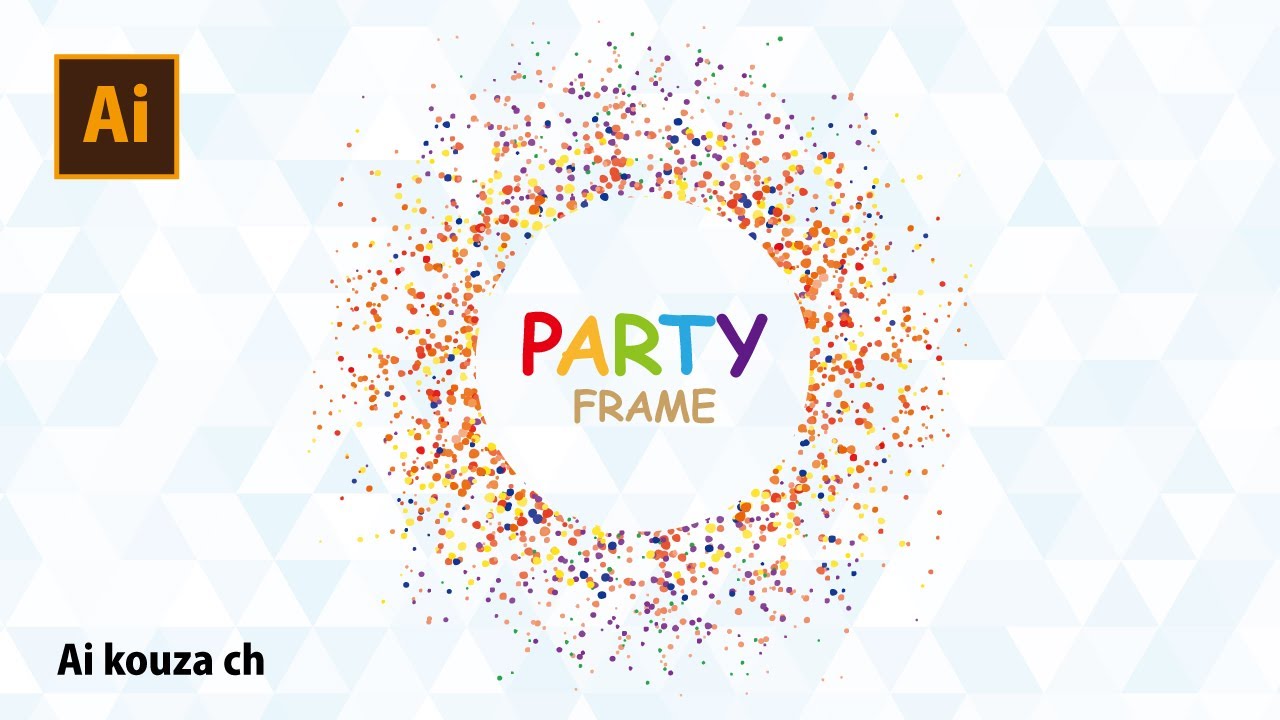
今回は、「カラーハーフトーン」という機能を応用して、ドットでできたフレームを作っていきます。
それでは、さっそく本編にいきましょう。
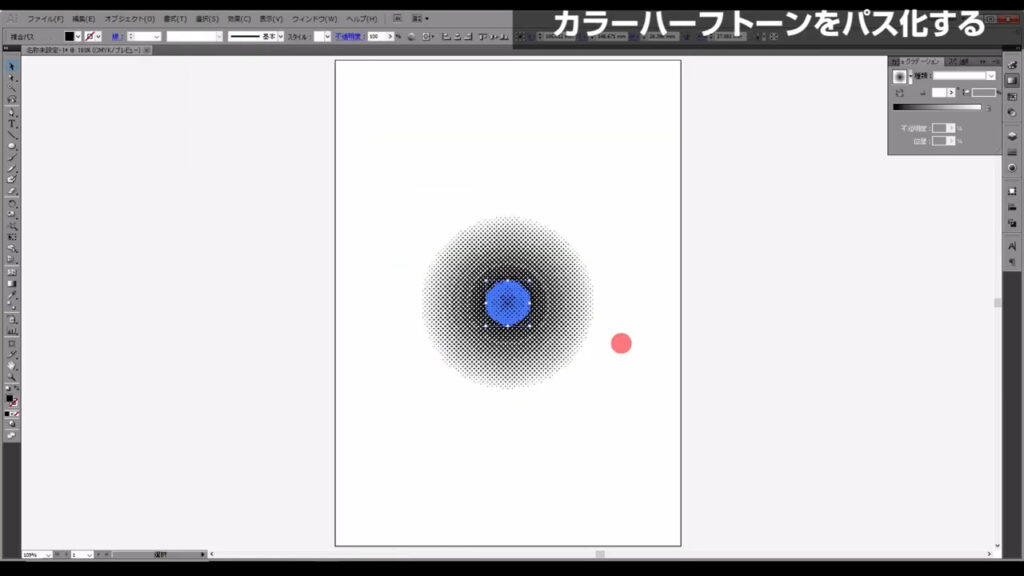
円形グラデーションを作って、カラーハーフトーンを適用
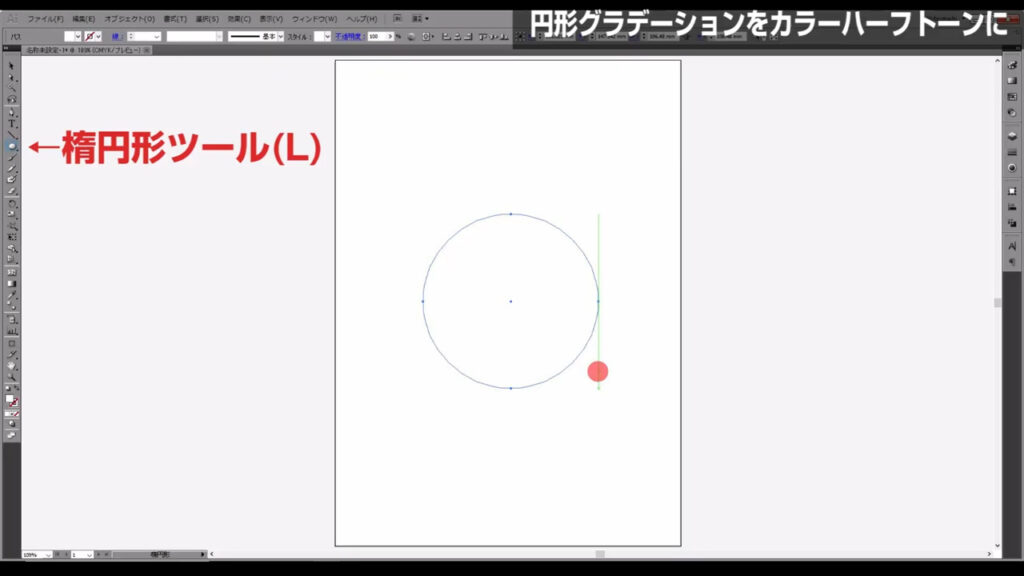
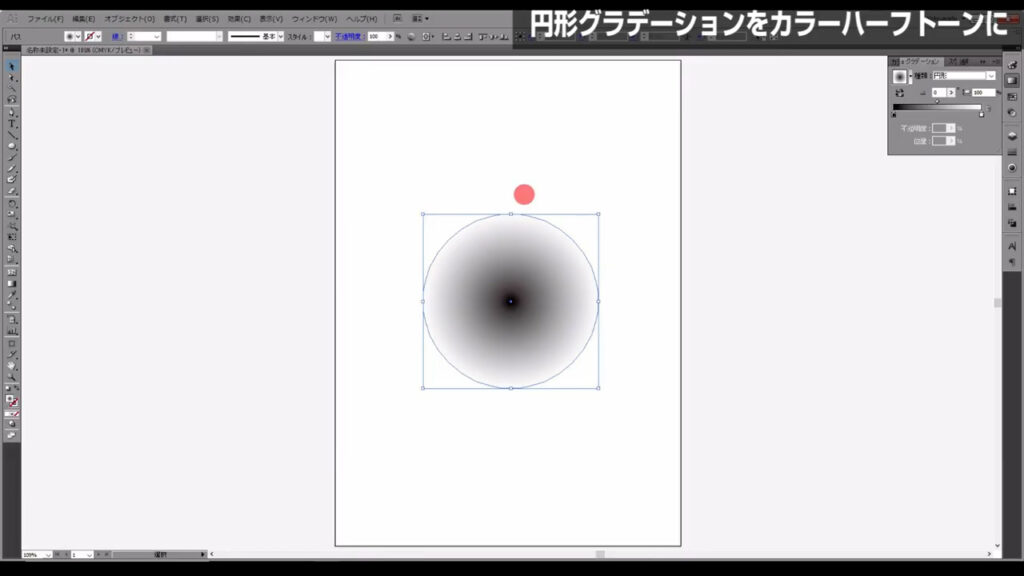
まず楕円形ツールに切り換え、円を描きます。
塗りを円形のグラデーション、線をなしに設定します。
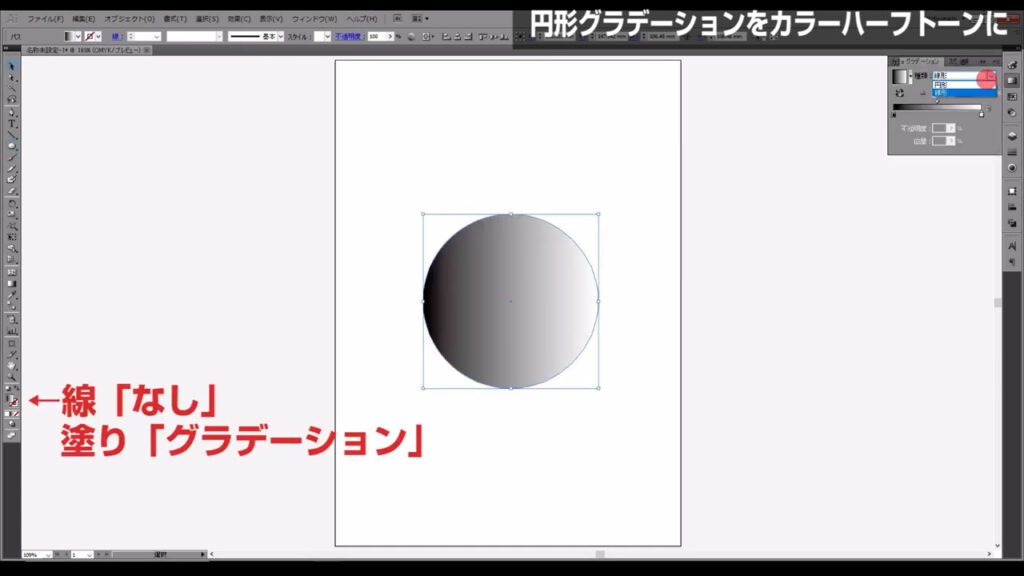
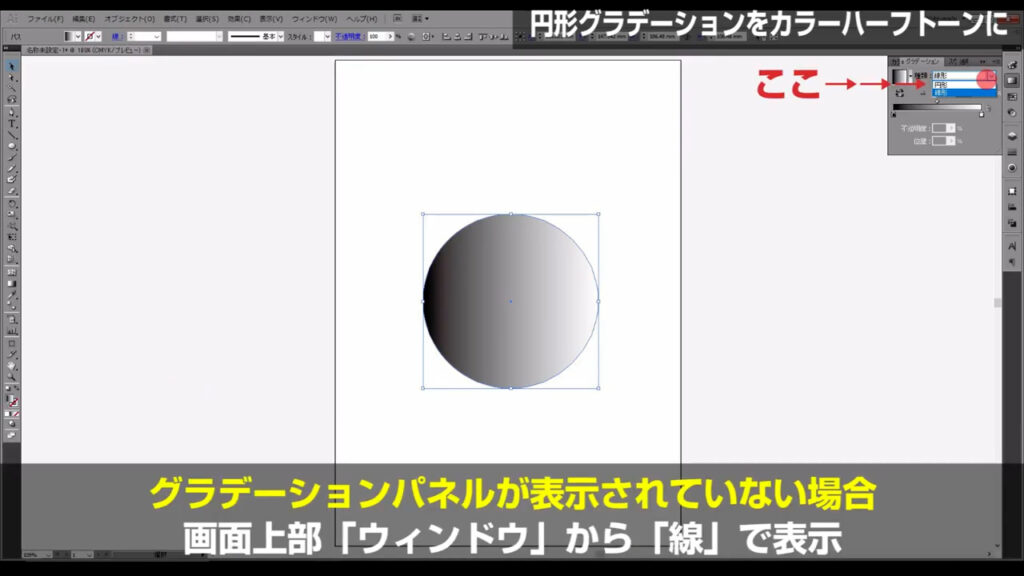
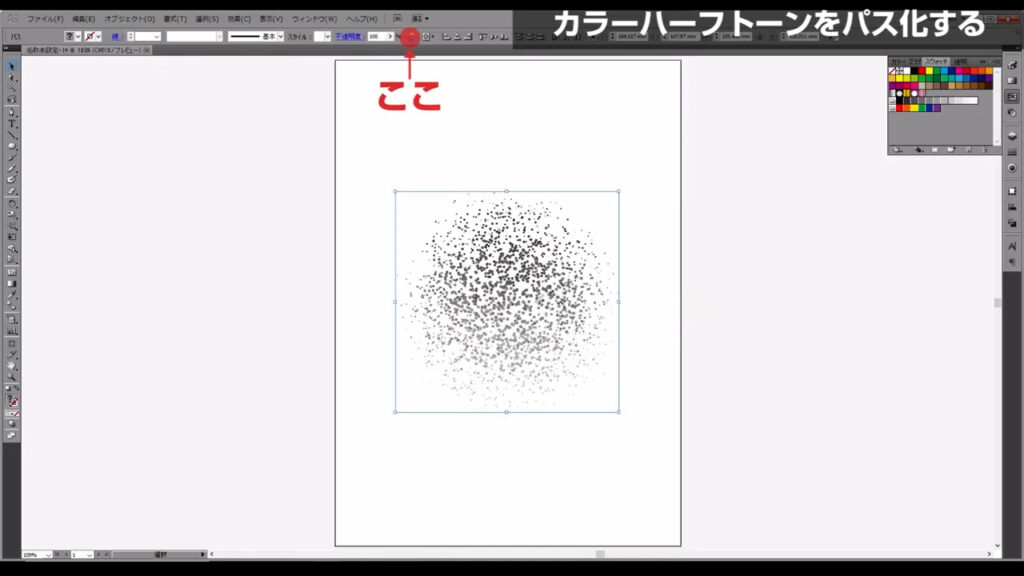
円形グラデーションはここ(下図参照)から設定できます。
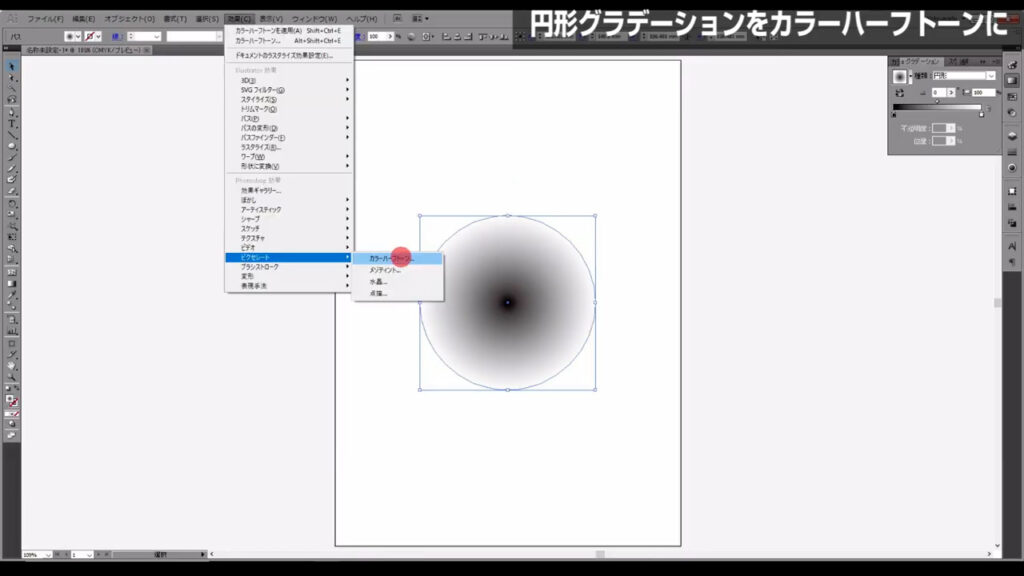
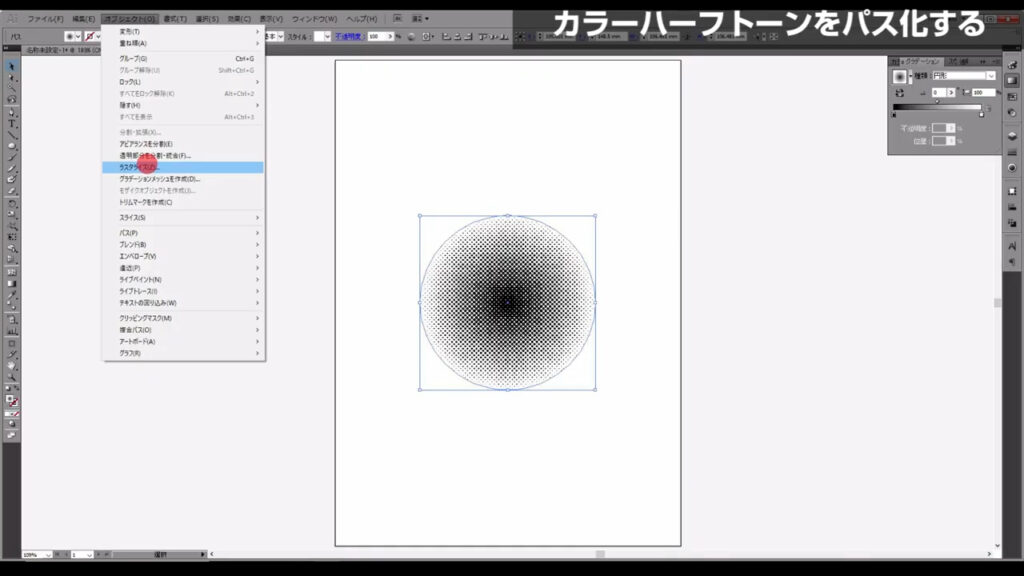
次に、この円を選択した状態で、下図の手順で「カラーハーフトーン」という機能を適用させます。
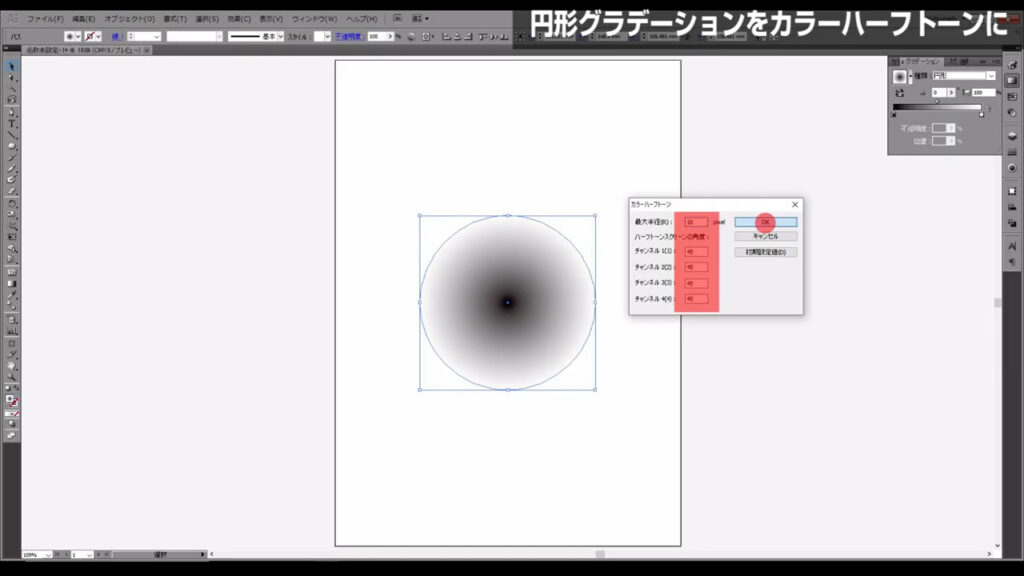
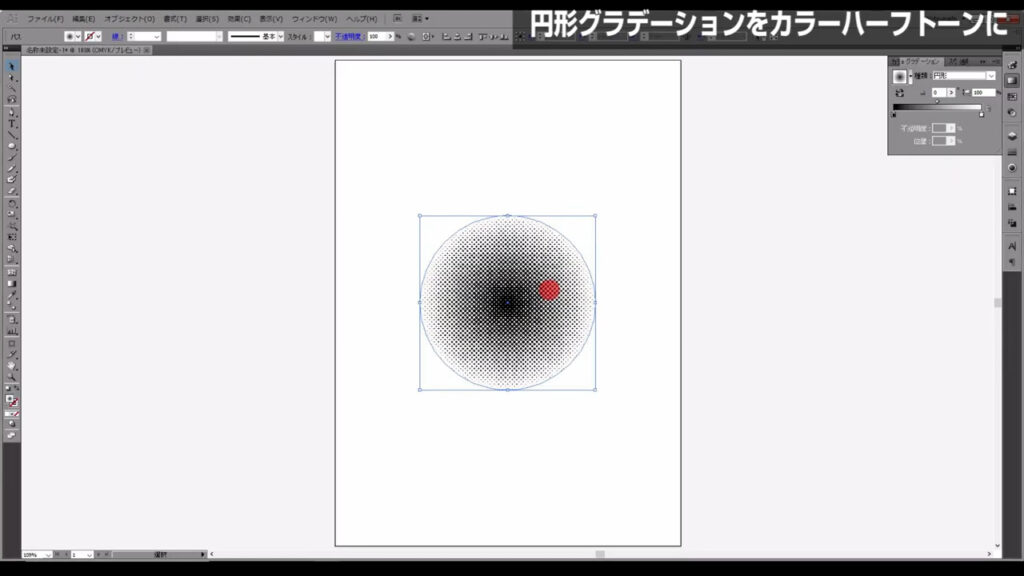
下図のようなウィンドウが開くので、マーキング部分のように数値を設定して、OKを押します。
ここまできたら次のステップです。
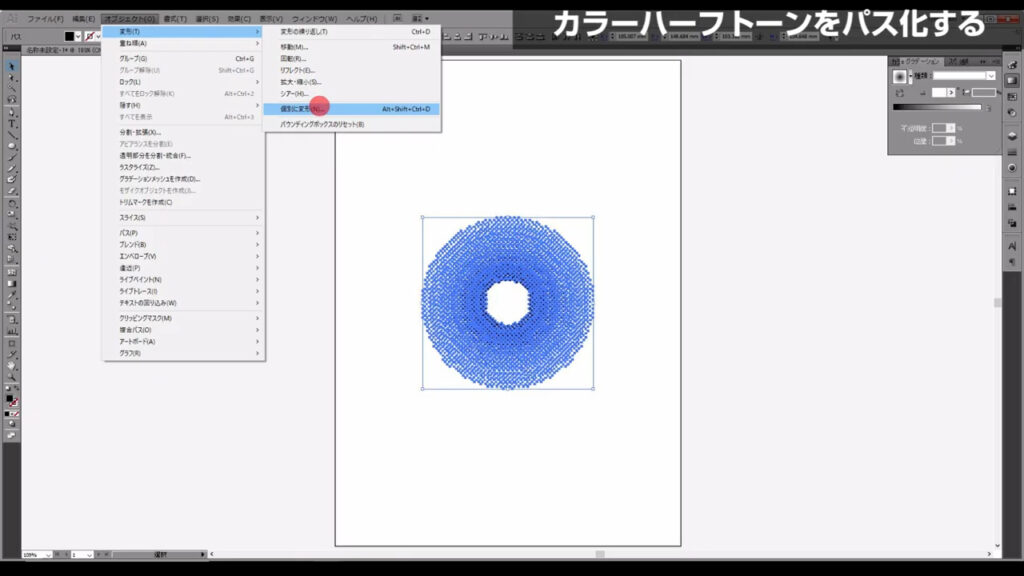
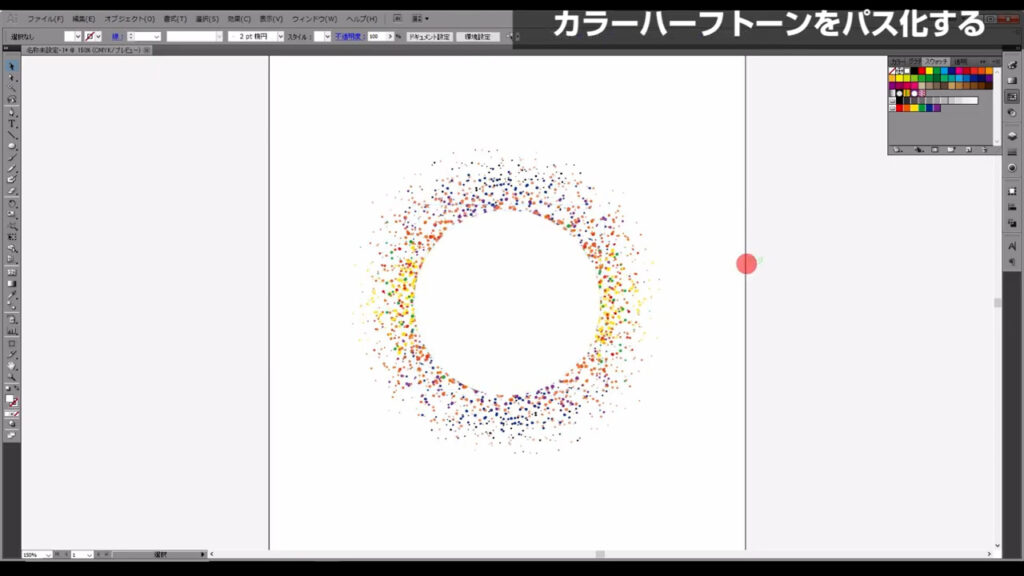
カラーハーフトーンをパス化する
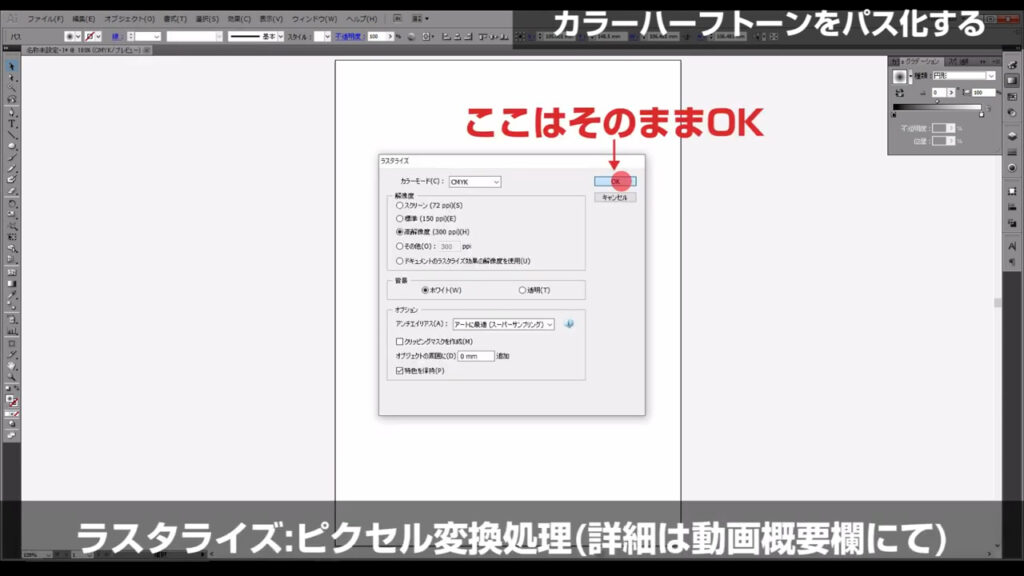
カラーハーフトーンを選択した状態で、下図の手順で「ラスタライズ」処理を実行します。
ラスタライズとは、画像をピクセル(画素)の集合体で表現する処理のことです。
イラレは主にベクターデータという「数式」で構成されていますが、対するラスターデータはピクセル(画素)という「点の集合体」で構成されています。
この処理が終わったら「ライブトレース」というところを押し、
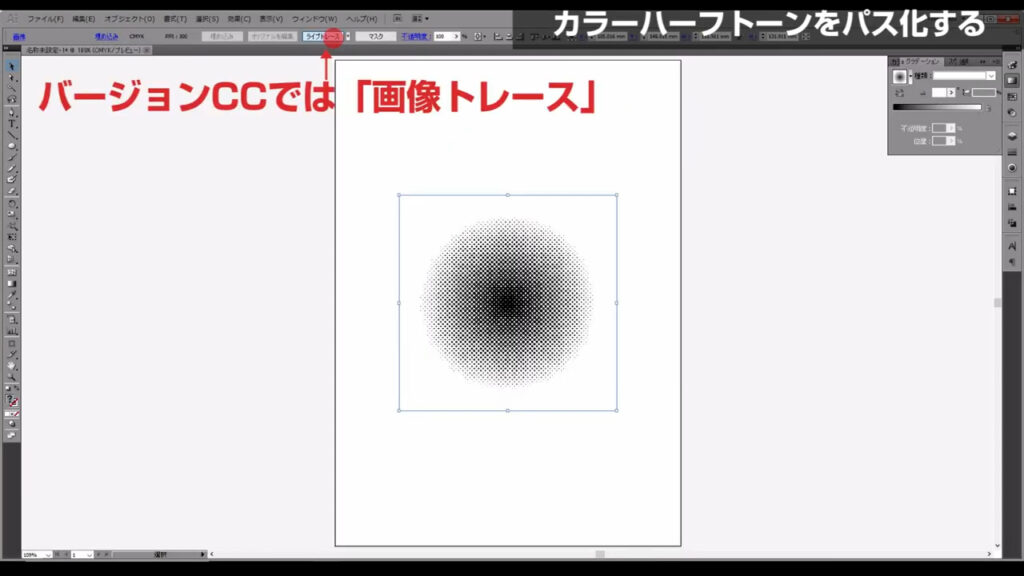
さらに拡張を押します。

これでカラーハーフトーンがパスに変換されました。
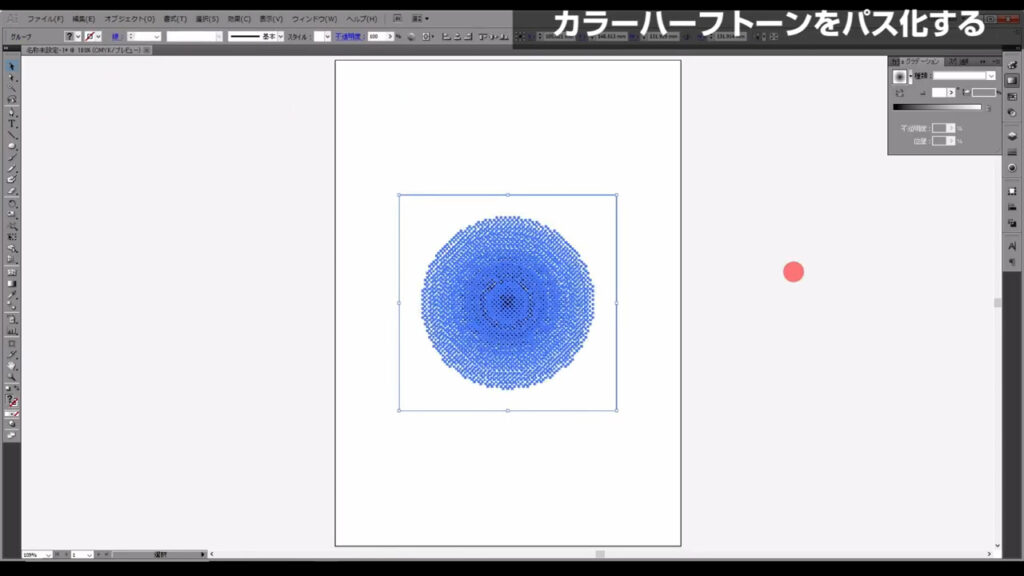
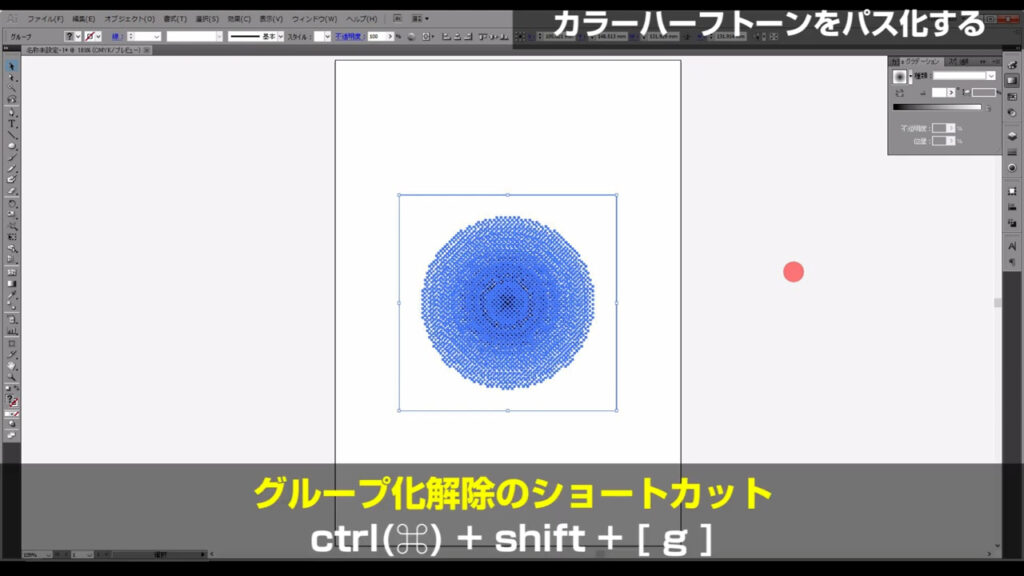
そうしたら、これを、ctrl(⌘) + shift + [ g ]でグループ化解除します。
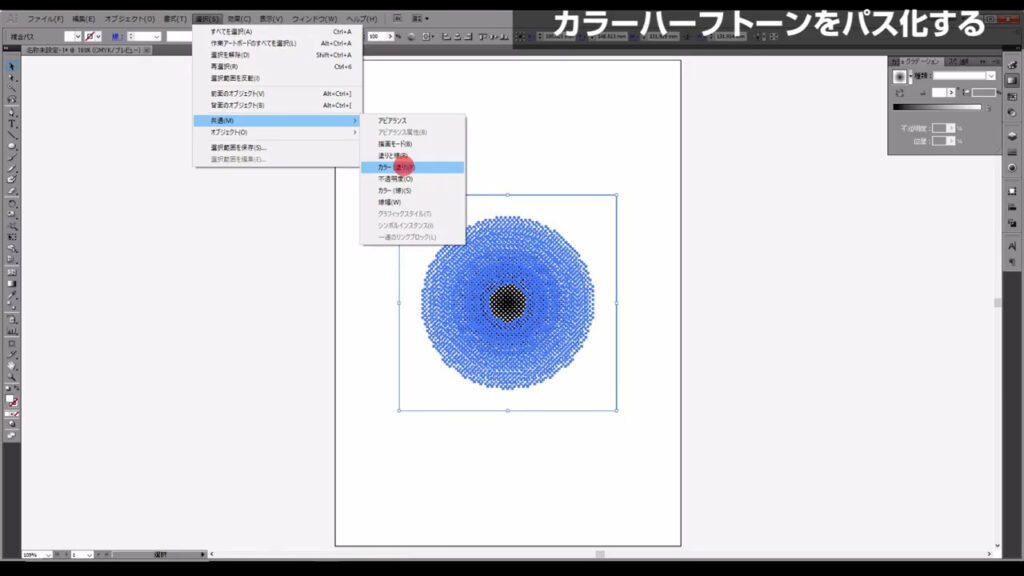
次に、塗りが白の部分を選択し、下図(2枚目)の手順で他の白塗りの部分も選択して削除します。
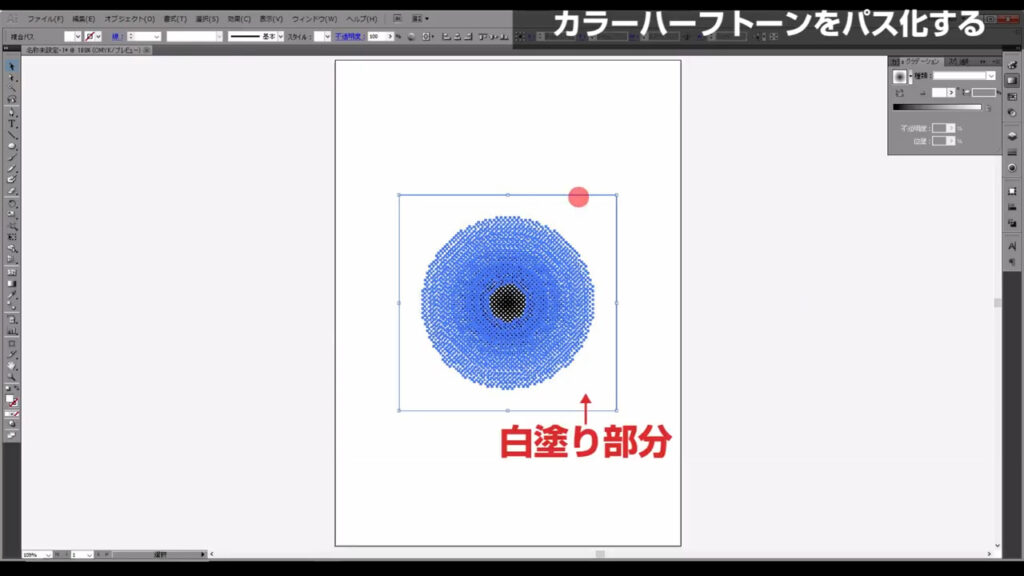
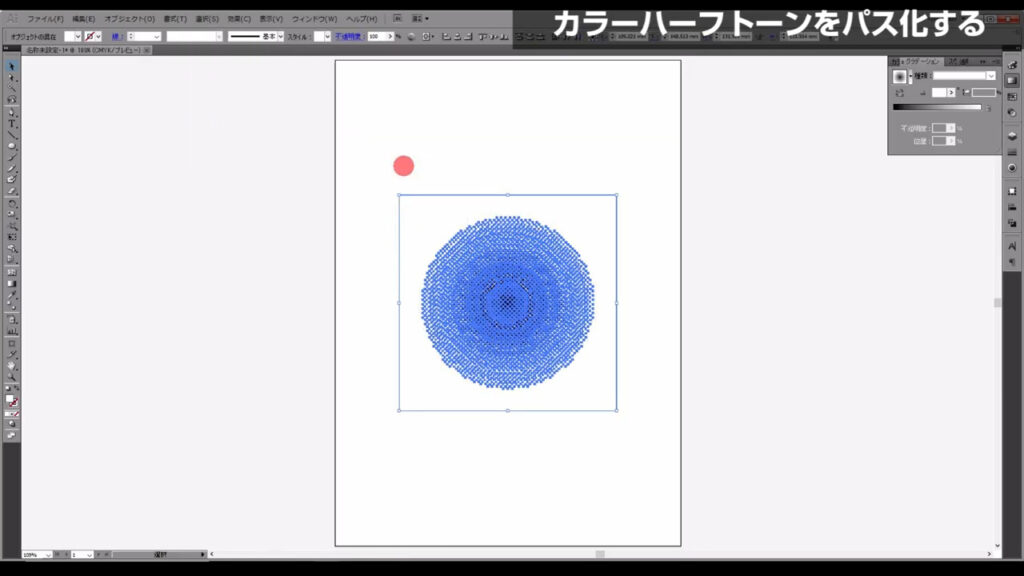
そして、カラーハーフトーン中央の黒塗りが固まっているところも削除します。

ここまできたら最終ステップです。
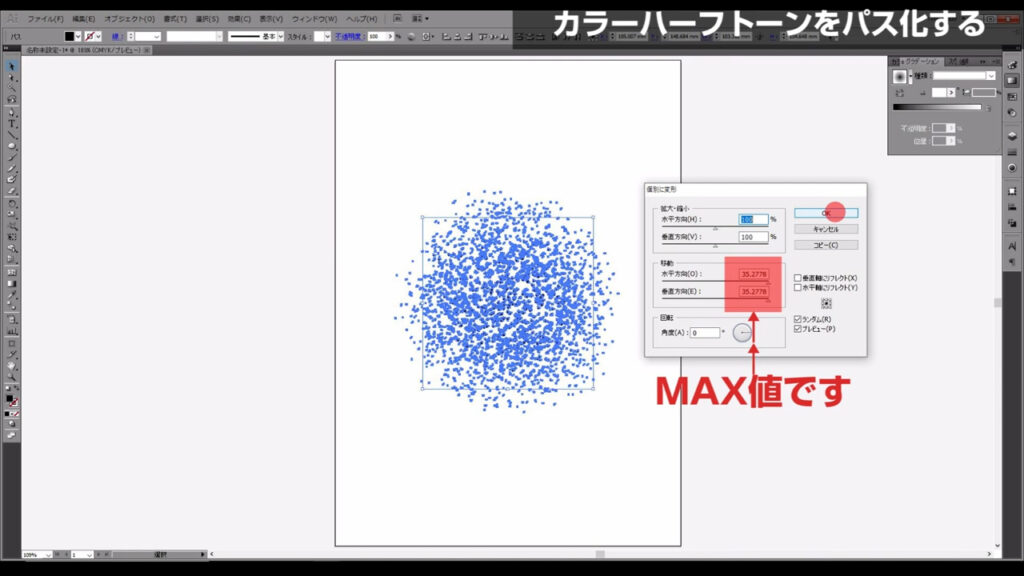
ドットをランダム配置させて、色を再配色する
カラーハーフトーンをランダム配置させます。
下図の手順で個別に変形へと進んでいきます。
下図マーキング部分のように数値を設定して、OKを押したらランダム配置は完了です。
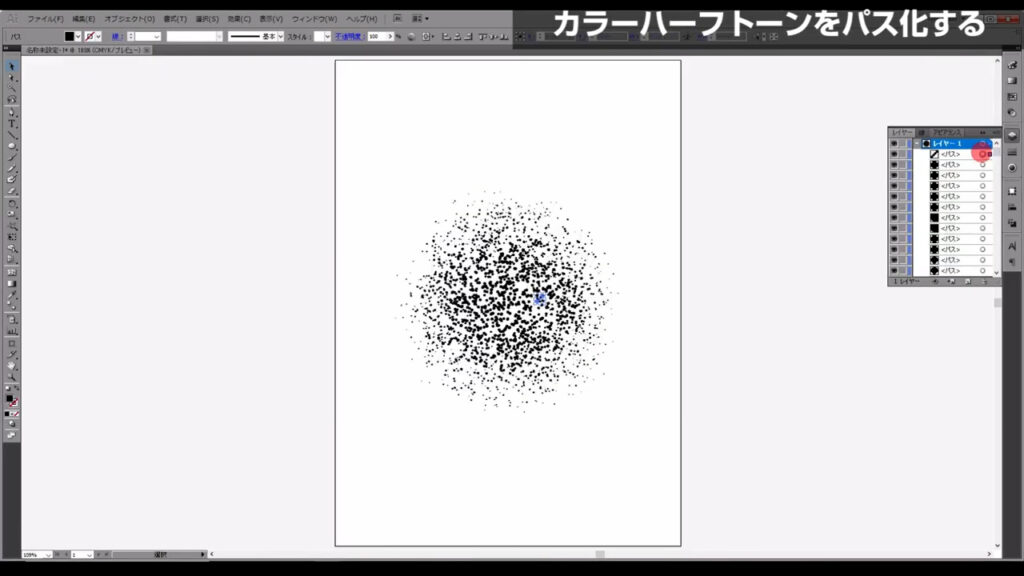
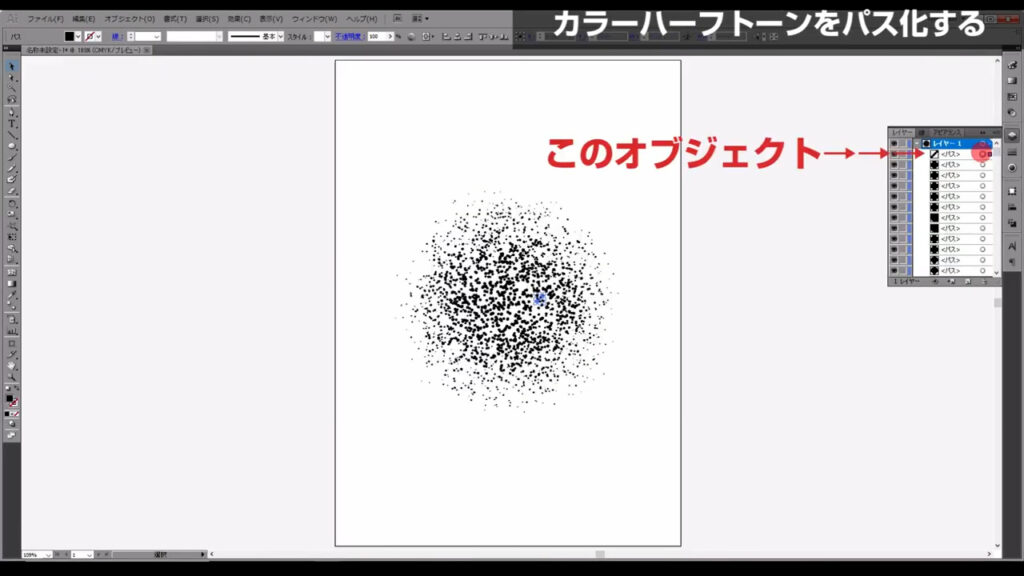
次にレイヤーパネルを開き、レイヤーの一番上に来ているオブジェクトだけを選択します。
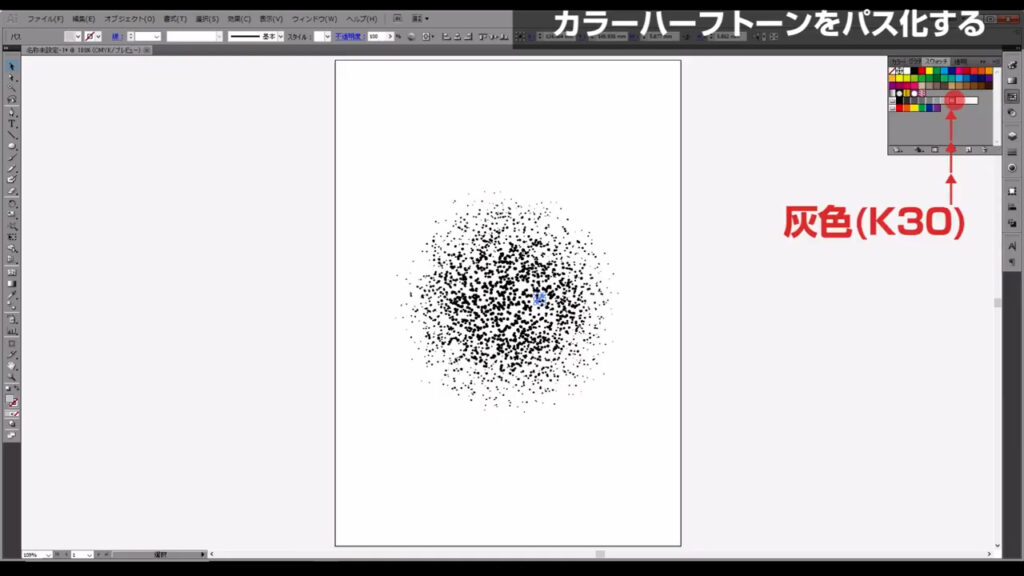
そして、選択のオブジェクトの塗りを字幕(下図参照)のように設定します。
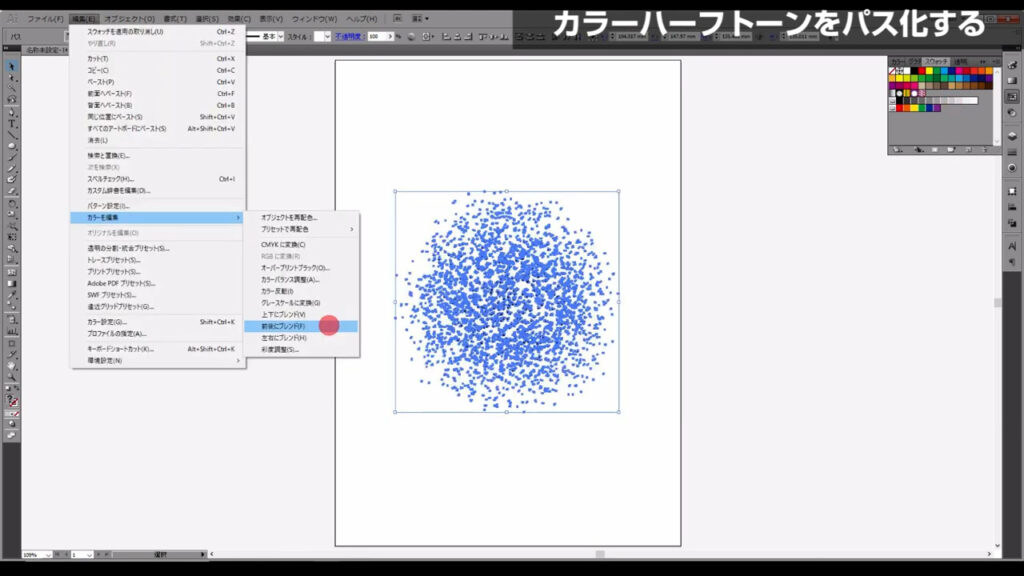
そうしたらこれらを全選択し、下図の手順で「前後にブレンド」を実行します。
ここの前後とは、オブジェクト(今回の場合は、細かい点々)の並び順のことを指しています。
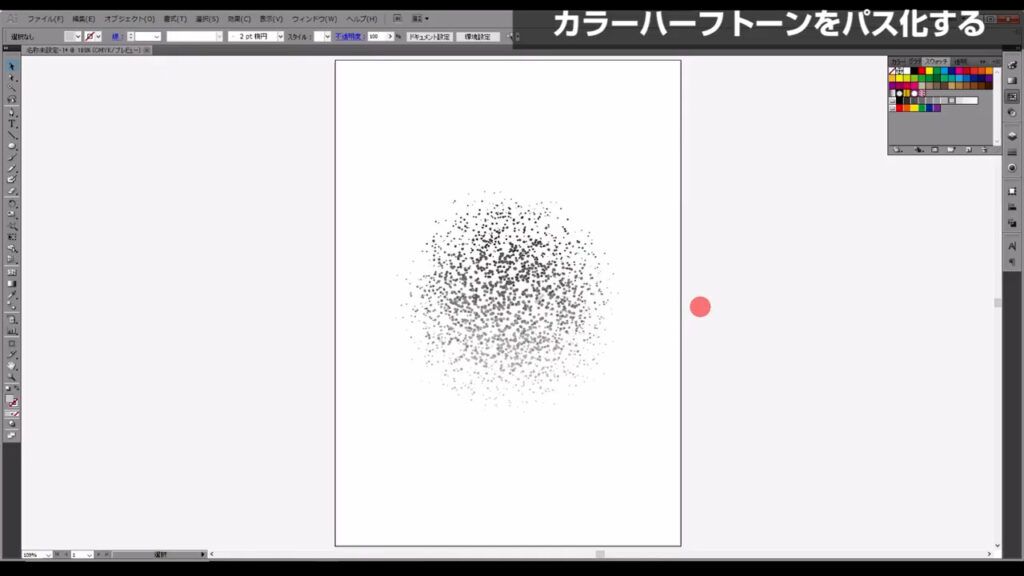
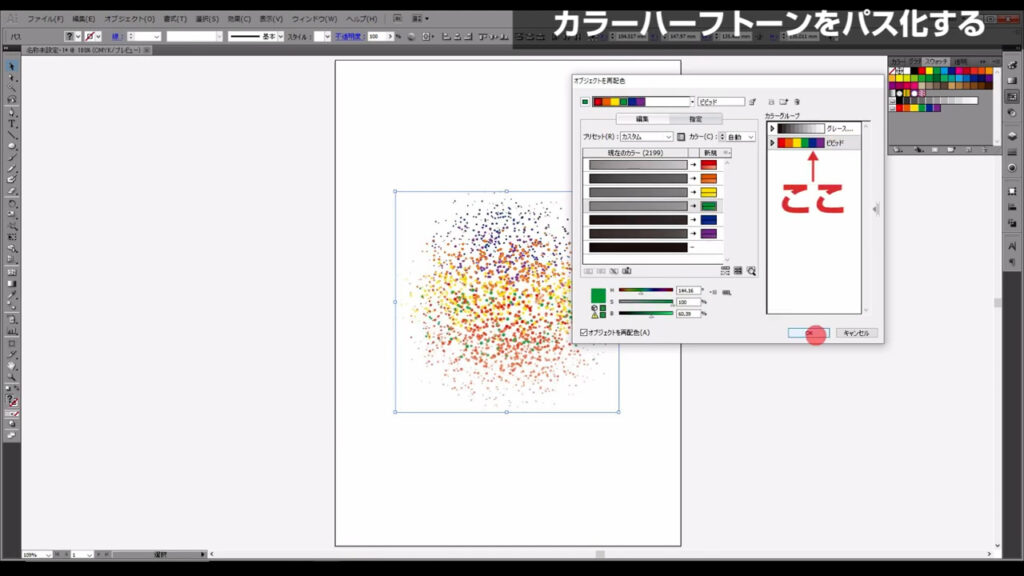
この処理を実行したら、ここ(下図参照)を押してオブジェクトを再配色します。
下図のようなウィンドウが開くので、カラーグループを「ビビット」にして、OKを押します。
※バージョンCCでは下図のウィンドウが開く前に別のパネルが開くので、「詳細オプション」を押して、下図のウィンドウへ進みます。
これらを、ctrl(⌘) + [ g ]でグループ化して、

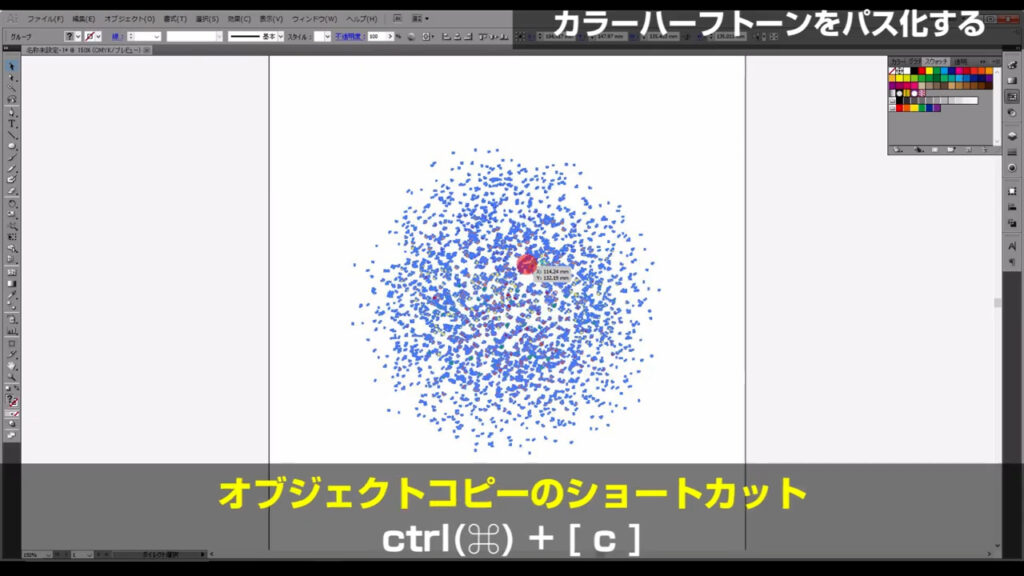
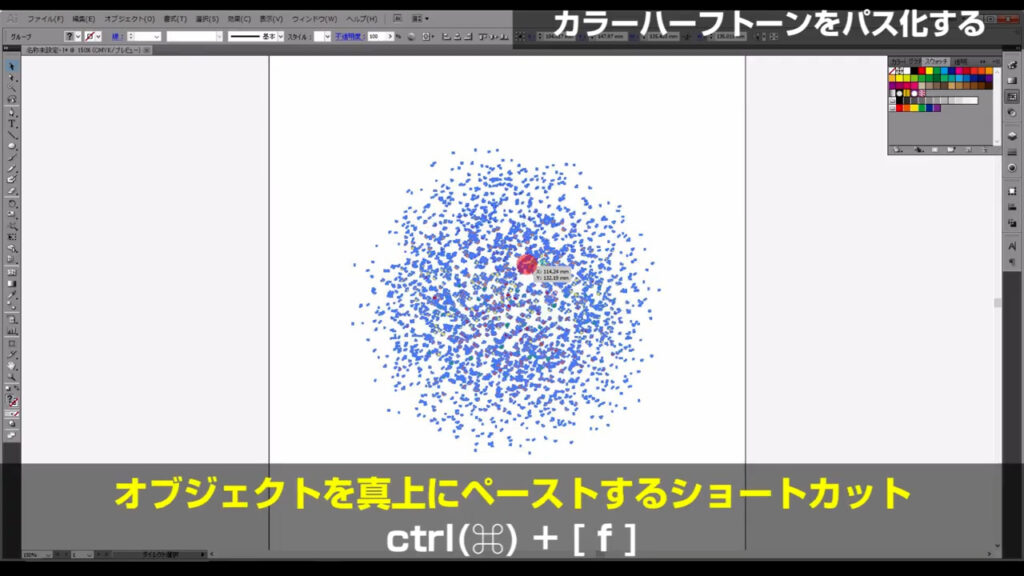
さらにctrl(⌘) + [ c ]でコピー、続けてctrl(⌘) + [ f ]で真上にペーストします。
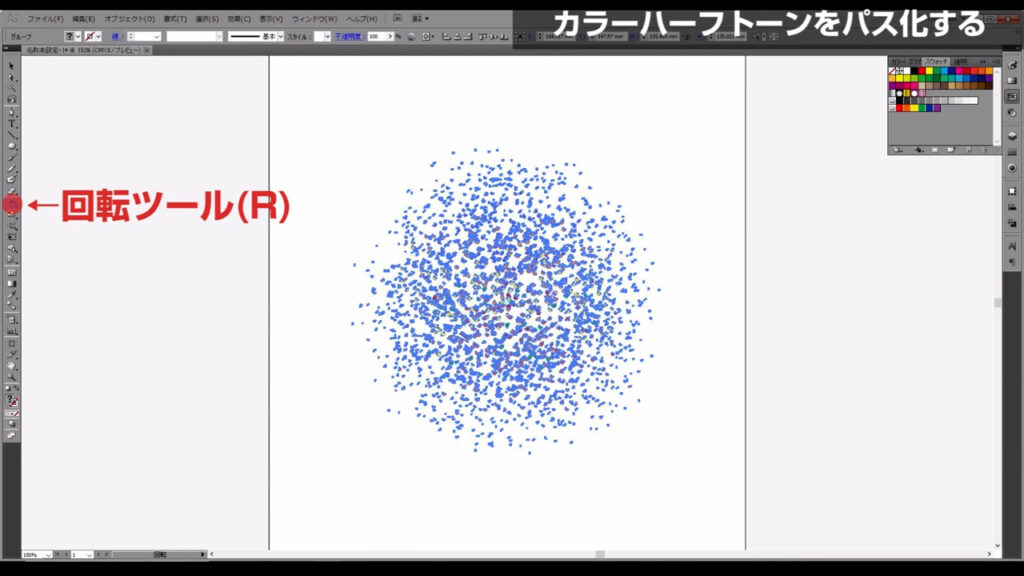
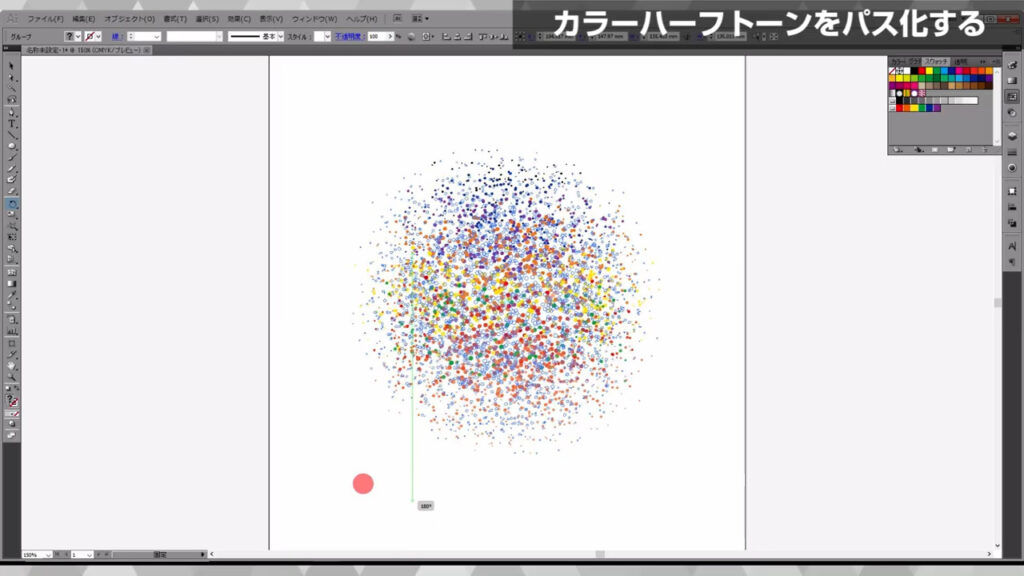
そして回転ツールに切り換え、コピーした方のグループを適当に回転させます。
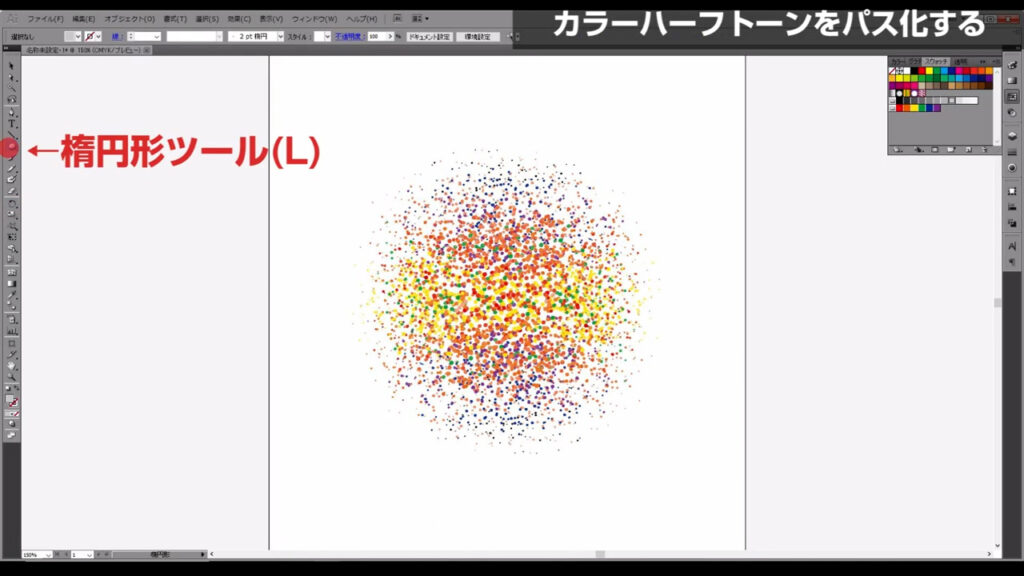
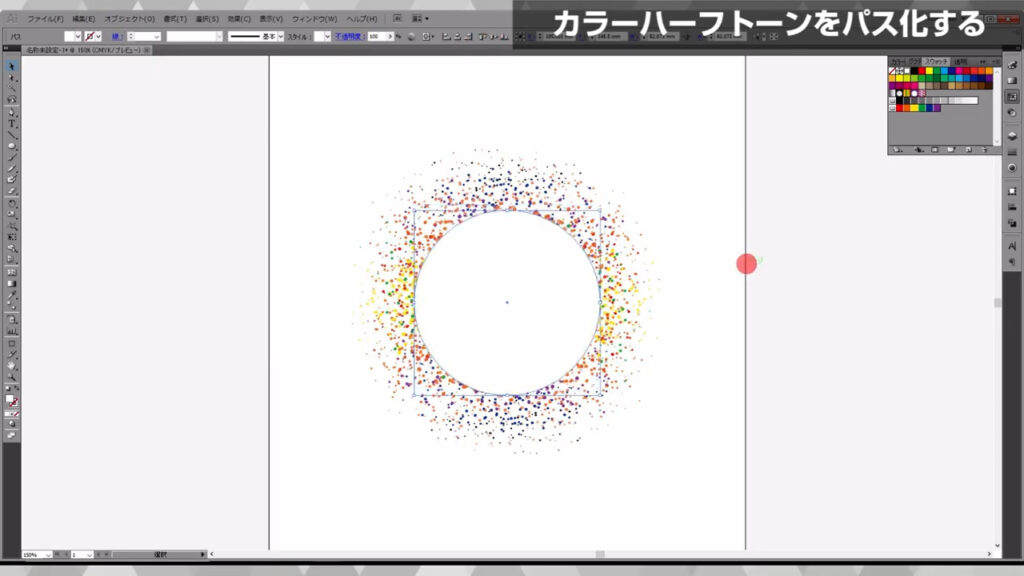
最後に楕円形ツールに切り換え、shiftを押しながらドラッグで中央に正円を配置したら、ドットフレームの完成です。
最後までお読みいただき、ありがとうございます。


コメント